

The main tab is the basic information about the package.

The update tab holds the information for the auto updater for the Installer, like the web address to find the updates. The web update files (.dat) that are created should be put on the webserver in the same place as the XSP files for the auto update to work

The text tab is where you have the ship name and description texts. This can be for any number of languages you wish.
Without any text, the ship you add will appear as ReadText17-####
To add/remove text, just right click in the list for the menu. Select the Add Language option to add a new one and fill in the details. To remove. highlight the text you want to remove, right click and goto remove.
When you have ship data loaded, you can also import text files from exiting xml/pck files, or from a cat files, and even from a selected Directory

You can import text from a text file as long as you have data loaded, it will used the Description ID to search text files to find a match. Selecting the "Import Text File" option will open a file dialog to allow you to select a text file. Select an xml or pck file to read all the text entries and find one that matches. Any matching text will be displayed for the oppropriate language. Each text file is a different language, so if theres more than one language, you have to do it multiple times.
Importing from a mod file is simlar to a text file but instead it will read every text file inside the mod file and add all the entries that match. Select the "Import Text File" option and instead of an xml or pck files, you can also select a cat file. This will then automatically read all the text files and add all the matching entries for every language found.
Importing a directory allows you to import all languages for a set of text fiels without having to import them individually. Select the "Import From Directory" option then select the directory where the text files are held. Next you get get a list of avaialble text ID, this is the filename without the language id. Select which id to import and it will read all text files of the same id allowing you to import text for different languages.
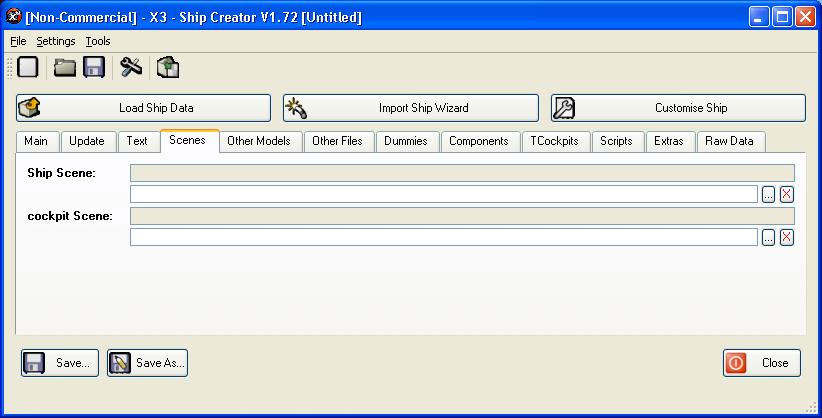
The scenes are model files that make up the whole ship, these are the main files that are referenced in TShips. They basically join together all the different model files into a full ship. There is a scene for both the cockpit and the ship.
The first box for each is the filename thats from TShips, this is not changable. The second is the filename you wish you use from your drive. Click on the browse "..." button to select a file. When the package is created, the file will be renamed to match the entry in TShips. Clicking on the Red X will clear the filename.
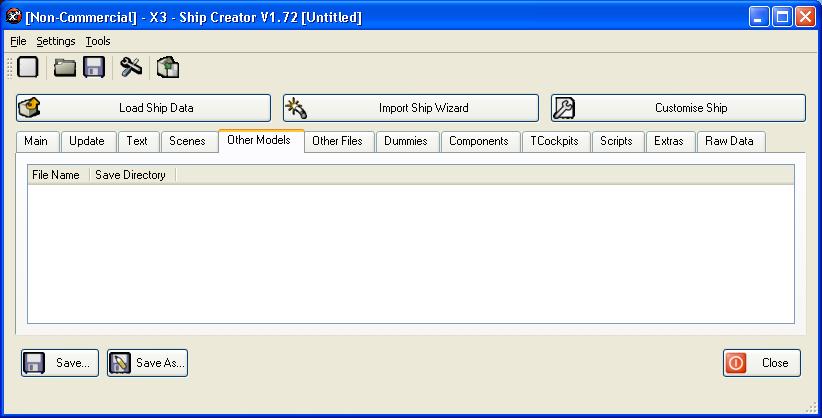
The Other models are for any other model files that arn't your scene files. These files are usually referenced in the scene files or in the dummies entries.
To add models, you need to right click in the list for the menu then goto add model. You will first have to select the file you want to add, then enter the save directory for it.
To remove the model, highlight the one you want to delete, right click and select Remove Model.
There is also options to switch a model with the scene file, what this will do is make the current model the scene, and move the scene file into the other models list.
You can also drag and drop files into the List, so you can open up windows explorer to the directory where you have the files, drag them over to the list and they will be added into the package.

The other files work the same way as the other models, with the exception that they can be any filetype, not just model files. These are mainly used to add textures for the ship into the package.

The dummies are just text entries that will be added to the main Dummies.pck file. You can import entries directory from an existing file. Dummies is a string of data thats organised into sections. To add an entry you need to state which section its being added to.
Clicking on the Import Dummies file button will first ask for the file to import, this can be either a Dummies file, or a mod file (.cat)
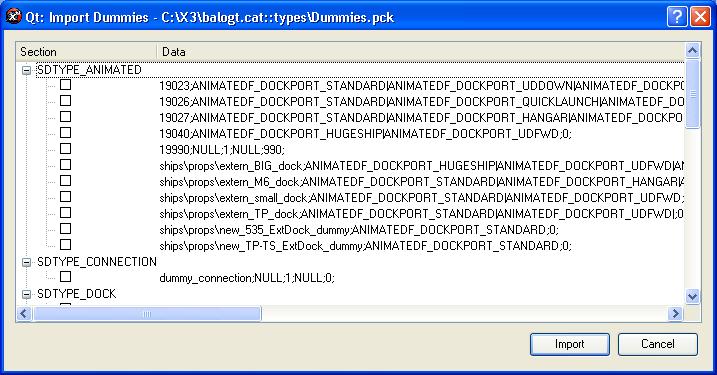
The dummies are listed in thier sections with the data they will add. To add any entries jsut check the boxes next to the data and they will be added. You can open and close each section to make it easy to find the entries.
To remove any entries, jsut highlight them in the list, right click and goto Delete.

Components is simlar to Dummies, but the data is held in 2 sections rather than one. Theres the main section like with dummies, then the components name. Like the Dummies, you can also import the entries from mods or files.

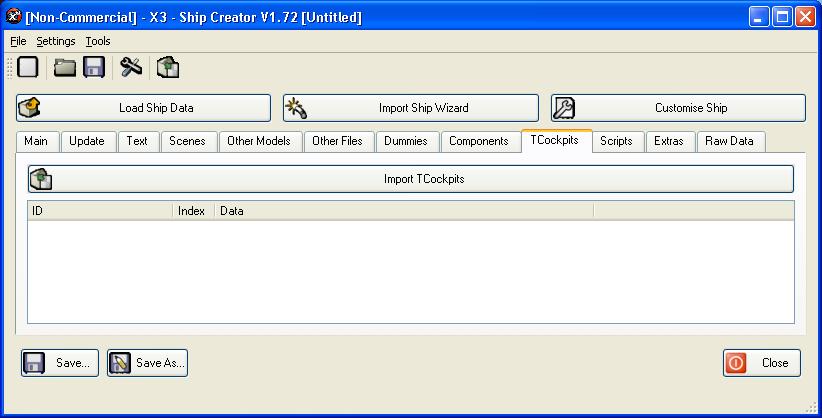
The cockpits are entries that are found in the TCockpits.pck file. To add these you need to import them from a file.
To add a Cockpit, click the Import TCockpits button and select either a cockpit file or mod file.
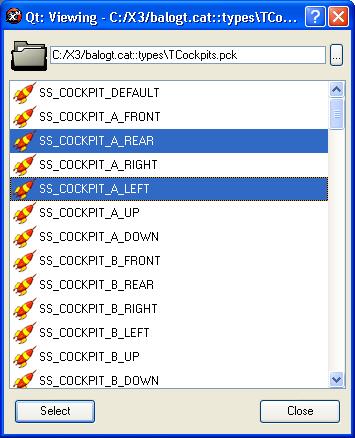
You can import multiple cockpit entries at a time, just select them from the list and they will be imported.
To remove any entries, just right click on the list and goto Remove.
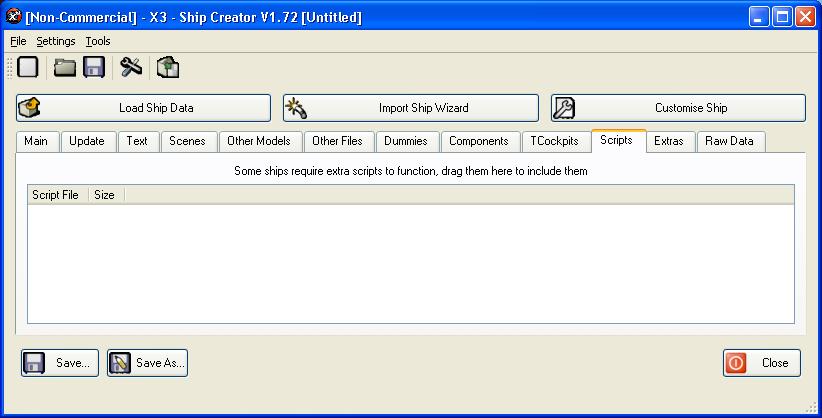
The scripts tab is for adding custom scripts to be included into your package. IE if you want to add a script that adds these shps to specific places. To add a script either right click and goto Add, or drag and drop the files into the list and they will be added.
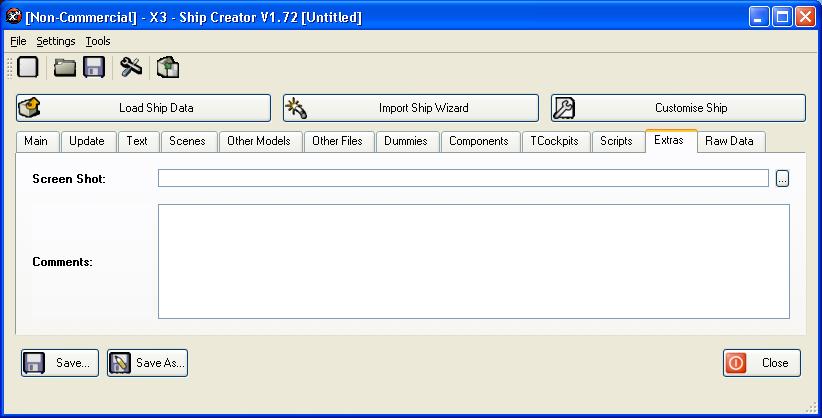
The Extras tab is to add a few extra details to the package

This is just a display of the current ships data, appears as a line from TShips, cant be edited directly.